There are several different methods that can be used when it comes to artificial grass installation.
The correct method to use will depend upon the site on which the grass is being installed.
For instance, the methods used when installing artificial grass on to concrete will be different to those chosen when installing artificial grass in place of an existing lawn.
As the ground preparation depends on the installation, generally the methods used to lay the artificial grass itself are very similar, regardless of the application.
In this guide, we’re going to be giving you 5 important artificial grass installation tips for laying artificial grass.
A professional installer will generally be well versed in the process and very familiar with these tips, but if you are looking to attempt a DIY installation, or if you would like some background knowledge, you’ll be sure to find this article very useful.
So, let’s begin with our first tip.
1. Do Not Use Sharp Sand as Your Laying Course
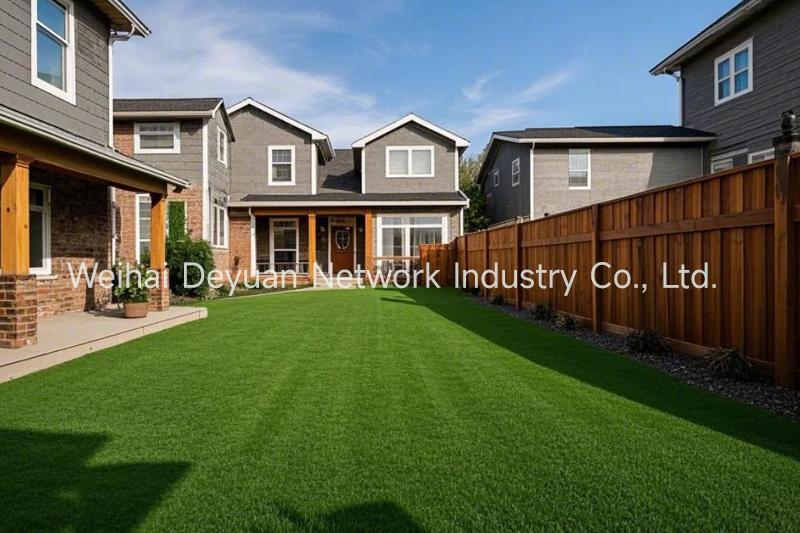
On a typical lawn installation, the first stage is to remove the existing lawn.
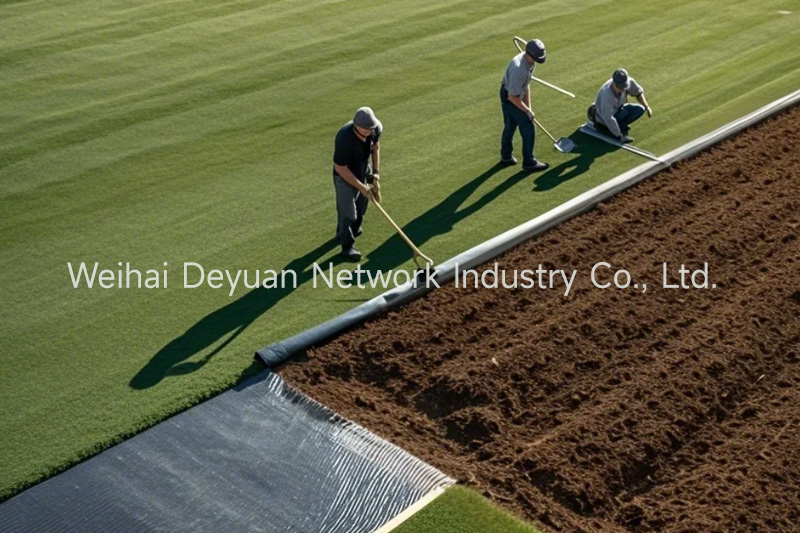
From there, layers of aggregates are installed to provide your lawn’s foundation in preparation for laying the grass.
These layers will comprise a sub-base and a laying course.
For a sub-base, we recommend using either 50-75mm of MOT Type 1 or – if your existing garden suffers from poor drainage, or if you have dogs – we recommend using 10-12mm of granite or limestone chippings, to ensure a free draining sub-base.
However, for the laying course – the layer of aggregate that lies directly beneath your artificial grass – we strongly recommend that you use either granite or limestone dust, between 0-6mm in diameter at a depth of 25mm.
Originally, when artificial grass was installed in a residential environment, sharp sand was used as a laying course.
Unfortunately, some installers are still using sharp sand today, and there are even some manufacturers who still recommend it.
The only reason for recommending sharp sand over granite or limestone dust comes down purely to cost.
Per ton, sharp sand is slightly cheaper than limestone or granite dust.
However, there are problems with using sharp sand.
Firstly, artificial grass has perforations in the latex backing that allow water to drain through the artificial grass.
Up to 50 litres of water per square metre, per minute, can drain through artificial grass.
With this much water capable of pouring through your artificial grass, what happens over time is that the sharp sand will wash away, particularly if there is a fall on your artificial lawn.
This is bad news for your artificial grass, as the turf will become uneven and you will see noticeable ridges and dips in your lawn.
The second reason is that sharp sand moves around underfoot.
If your lawn will be receiving a high level of footfall, including from pets, then this will again result in dips and ruts in your turf where sharp sand has been used.
A further problem with sharp sand is that it encourages ants.
Ants will, over time, begin excavating through sharp sand and potentially building nests. This disruption to the laying course will likely cause an uneven artificial lawn.
Many people wrongly assume that the sharp sand will hold firm in the same way it does for block paving, but unfortunately this is not the case.
Because granite or limestone dust is far coarser than sharp sand, it binds together and provides a much better laying course.
The extra few pounds per ton in cost are certainly worth spending as they will ensure a much better finish to your fake lawn and provide a much longer lasting installation.
Whether you use limestone or granite depends entirely what is available locally to you, as you’ll probably find that one form is easier to get hold of than the other.
We recommend you try contacting your local builders’ merchants and aggregate suppliers to find out availability and costs.
2. Use a Double Layer of Weed Membrane
This tip will help prevent weeds from growing through your artificial lawn.
After reading the previous tip, you’ll now be aware that part of an artificial grass installation involves removing the existing lawn.
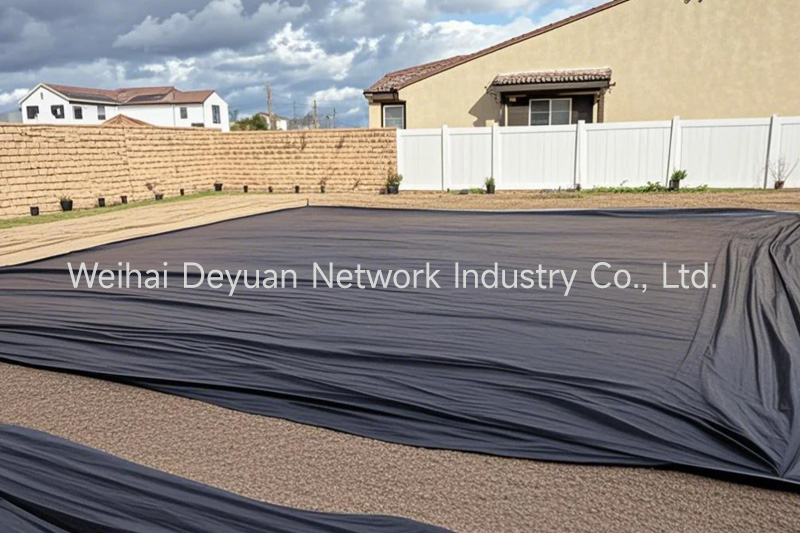
As you might have guessed, it’s recommended that you install a weed membrane to prevent weed growth.
However, we recommend that you use two layers of weed membrane.
The first layer of weed membrane should be installed to the existing sub-grade. The sub grade is the earth that is left after excavating your existing lawn.
This first weed membrane will prevent weeds that are deeper in the soil from growing.
Without this first layer of weed membrane, there is the chance that some types of weeds will grow up through the layers of aggregates and disturb the surface of your artificial lawn.
3. Allow the Artificial Grass to Acclimatise
Before cutting or joining your artificial grass, we highly recommend that you allow it to acclimatise to its new home.
This will make the installation process much easier to complete.
But how exactly do you allow artificial grass to acclimatise?
Luckily, the process is very easy as it requires you to do nothing!
Basically, all you’ll need to do is unroll your grass, position it in the approximate place that it is to be installed, and then allow it settle down.
Why is it important to do this?
In the factory, at the end of the artificial grass manufacturing process, a machine rolls up the artificial grass around plastic or cardboard tubes to allow for easily transportation.
This is also how your artificial grass will arrive when it is delivered to your home.
But because, up until this point, your artificial grass has effectively been squashed tightly whilst in roll format, it will need some time to settle down so that it lies completely flat.
Ideally this will be done with warm sun playing on the grass, as this allows the latex backing to warm up which, in turn, will allow any ridges or ripples to fall out of the artificial grass.
You’ll also find that it’s much easier to position and to cut once it has fully acclimatised.
Now, in an ideal world and if time isn’t an issue, you would leave your artificial grass for 24 hours to acclimatise.
We appreciate that this isn’t always possible, particularly for contractors, who’ll most likely have a deadline to meet.
If this is the case, it will still be possible to install your artificial grass, but it may take a little more time to position the turf and ensure a tight fit.
To help with this process a carpet Knee Kicker can be used to stretch out the artificial grass.
4. Sand Infill
You’ll probably have heard differing opinions on artificial grass and sand infills.
However, we highly recommend that you use a silica sand infill for your artificial lawn.
There are several reasons for this:
It adds ballast to the artificial grass. This ballast will hold the grass in position and prevent any ripples or ridges from appearing in your artificial lawn.
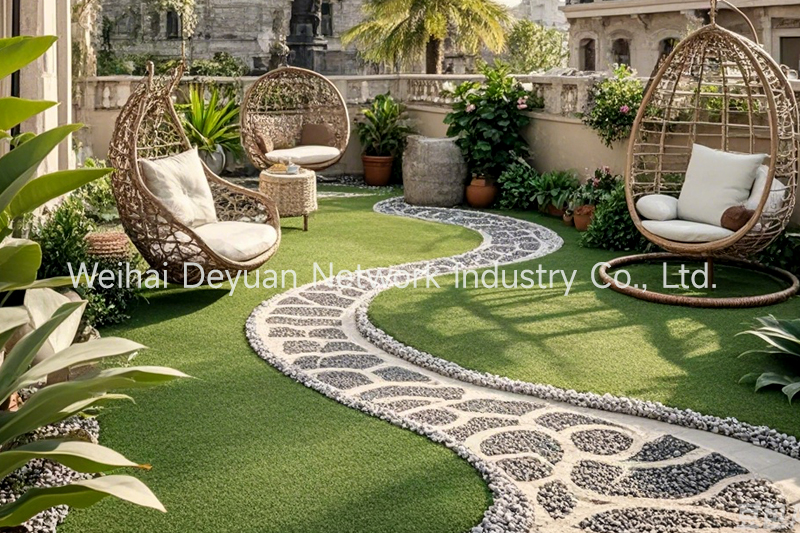
It will improve the aesthetics of your lawn by enabling the fibres to remain upright.
It improves drainage.
It increases fire resistance.
It protects the artificial fibres and the latex backing.
Many people have concerns that the silica sand will stick to people’s feet, and to the paws of dogs and other pets.
However, this is not the case, as the thin layer of sand will be sitting at the bottom of the fibres, which will prevent any direct contact with the sand.
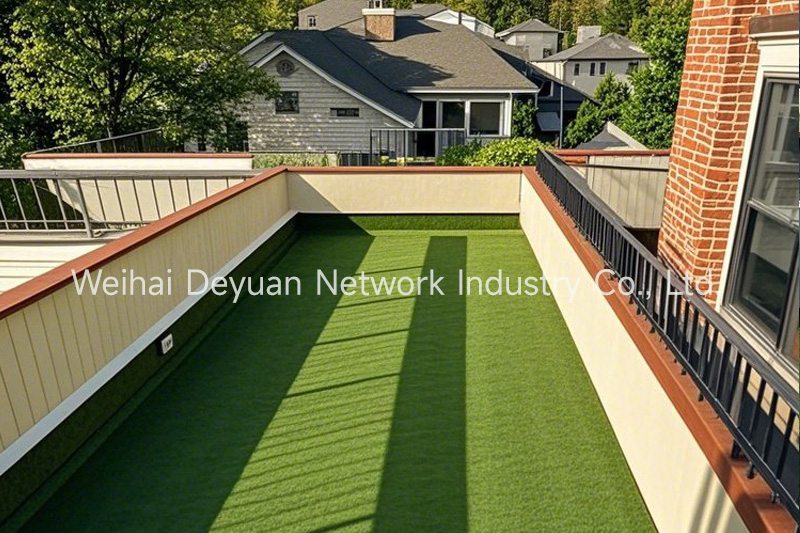
5. Use a Foam Underlay for Artificial Grass on Concrete and Decking
Although artificial grass should never be laid directly on top of existing grass or soil, without a sub-base, it is possible to install artificial grass on to existing hard surfaces such as concrete, paving and decking.
These installations tend to be very quick and easy to complete.
Obviously, this is because the ground preparation is already complete.
These days, it seems to be becoming increasingly common to install artificial grass on to decking as many people are finding decking to be slippery and sometimes quite dangerous to walk on.
Luckily this can be easily rectified with artificial grass.
If your existing surface is structurally sound, then there should not be any reason why you can’t install artificial grass on top of it.
However, one golden rule when installing artificial grass on concrete, paving or decking is to use an artificial grass foam underlay.
This is because any undulations in the surface below will appear through the artificial grass.
For example, when laid on a deck, you would see each individual decking board through your artificial grass.
To prevent this from happening, install a shockpad to a deck or concrete first and then fix the grass on to the foam.
The foam will mask any unevenness in the surface below.
The foam can be attached to decking using decking screws or, for concrete and paving, artificial grass adhesive can be used.
Not only will foam prevent visible bumps and ridges, but it will also make for a much softer artificial grass that will feel great underfoot, whilst also providing protection should any falls occur.
Conclusion
Artificial grass installation is a relatively simple process – if you know what you are doing.
As with anything, there are certain techniques and methods that work best, and hopefully this article has helped you gain an insight into some of the tips and tricks involved.
We generally recommend that you use the services of a professional to install your artificial grass, as you are more likely to get a better, longer lasting installation.
Installing artificial grass can also be very physically demanding and this should be considered before attempting a DIY installation.
However, we do understand that sometimes the additional cost involved may prohibit you from using a professional installer.
With some help, the right tools, good basic DIY skills and a few days of hard work, it is possible to install your own artificial grass.
We hope that you have found this article useful – if you have any other installation tips or tricks that you would like to share with us, please leave a comment below.
Post time: Jul-02-2025